Importing Devices and Employees
Populate the client's asset register via Microsoft 365 sync or CSV import.
Two import paths
- Microsoft 365 / EDR: Client tab → Integrations sub-tab. One sync covers CyFun Basic, Important, and Essential.
- CSV file: Client tab → Asset register sub-tab → Import CSV. AI auto-maps columns across NL/FR/EN headers.
Option A — Microsoft 365 + EDR sync
If the client uses Microsoft 365 with Intune, this is the fastest path. The integration imports devices (with OS, encryption, compliance status), employees (with MFA status), and detected applications. Connecting an EDR (Sophos Central, Bitdefender GravityZone, or SentinelOne Singularity) layers endpoint-protection state on top.
- Open the Client tab in the client workspace
- Click the Integrations sub-tab
- On the Microsoft 365 Integration card, click Connect
- Enter the Azure Tenant ID, Client ID, and Client Secret
- The initial sync runs automatically — results appear within seconds
After connecting, the Integrations sub-tab shows live counts (devices, users, policies, evidence), a Sync now button, and a recent-syncs panel. The Risk assessment sub-tab also gains auto-detected answers for controls like MFA, encryption, and device inventory — each shown with an Apply button.
Option B — CSV import
What you can import
💻 Devices
Laptops, servers, phones, network gear
name, device_type, operating_system, serial_number, ip_address
👤 Employees
Staff directory with roles and email
name, email, department, job_title
🏢 Suppliers
Third-party vendors and cloud providers
name, category, contact_email, website
📱 Applications
SaaS tools and on-premise software
name, app_type, vendor, url
🌐 Networks
LAN, WiFi, VPN segments
name, network_type, ip_range
📍 Workplaces
Physical locations and branches
name, workplace_type, city
Step 1 — Prepare your CSV file
Any spreadsheet export works. The importer auto-detects column types — no need to rename headers to match our format. Just make sure:
- ✓ First row contains column headers
- ✓ One asset per row
- ✓ File is saved as
.csv(comma-separated)
Example — devices.csv
name,device_type,operating_system,serial_number
Laptop Alice,laptop,Windows 11,SN-001
Server Main,server,Ubuntu 22.04,SN-002
iPhone Bob,mobile,iOS 17,SN-003
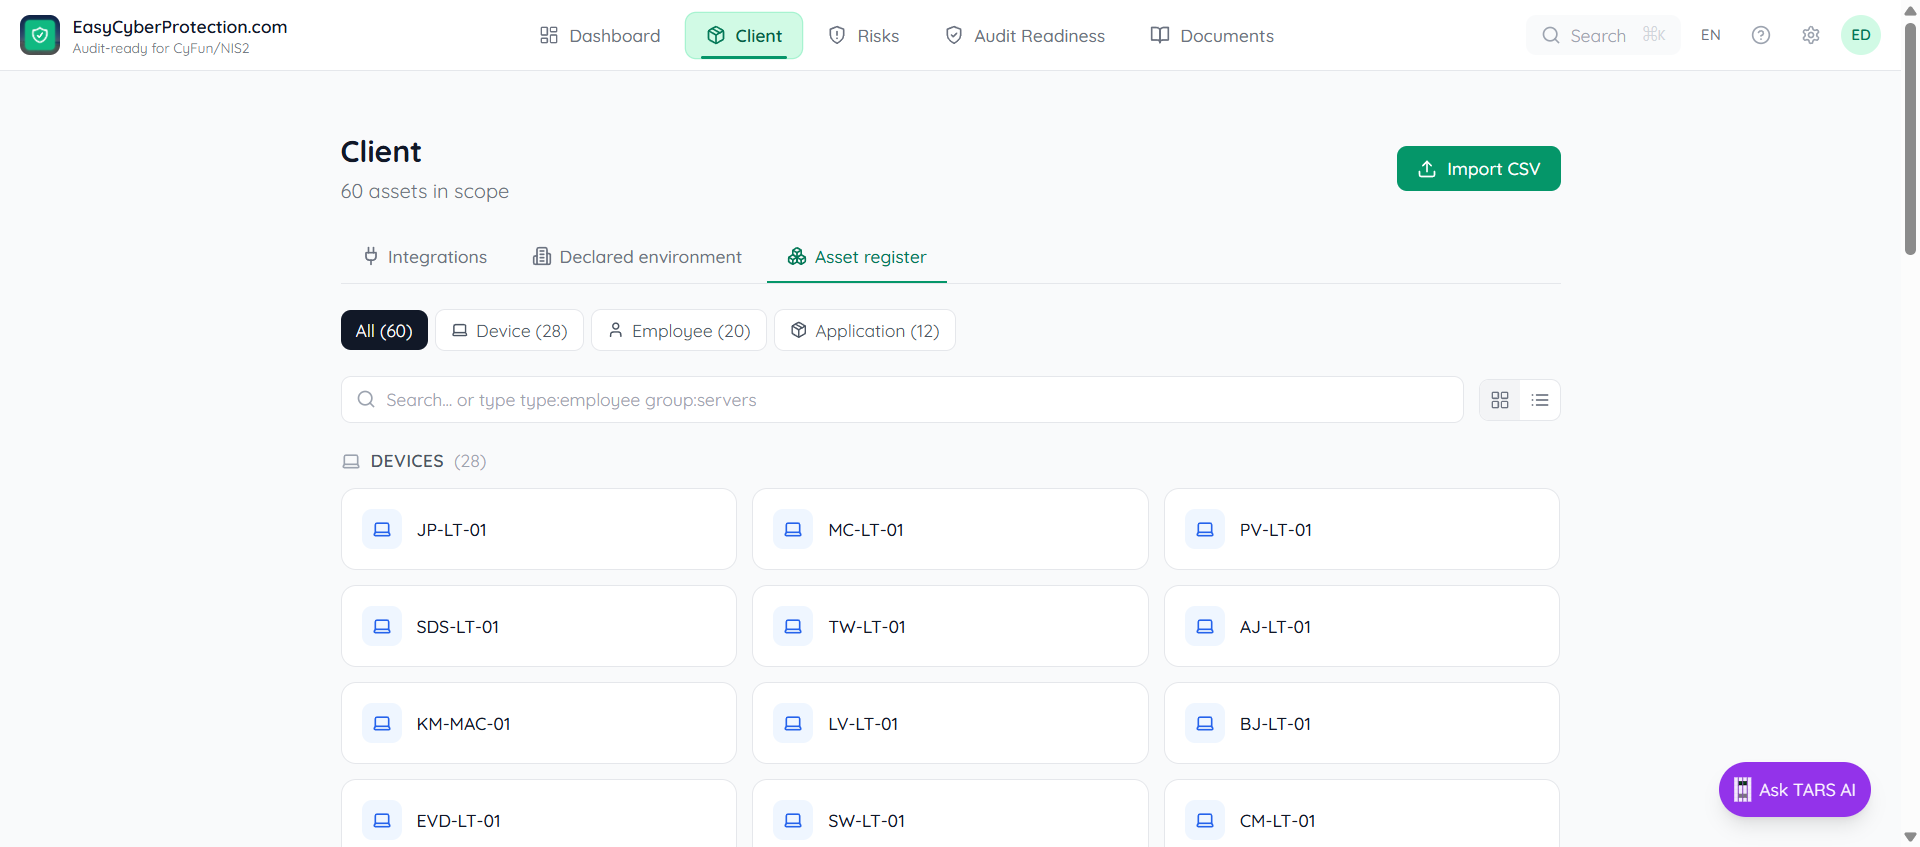
Step 2 — Open the Import dialog
Open the Client tab → Asset register sub-tab. Click the Import CSV button in the top-right of the panel.
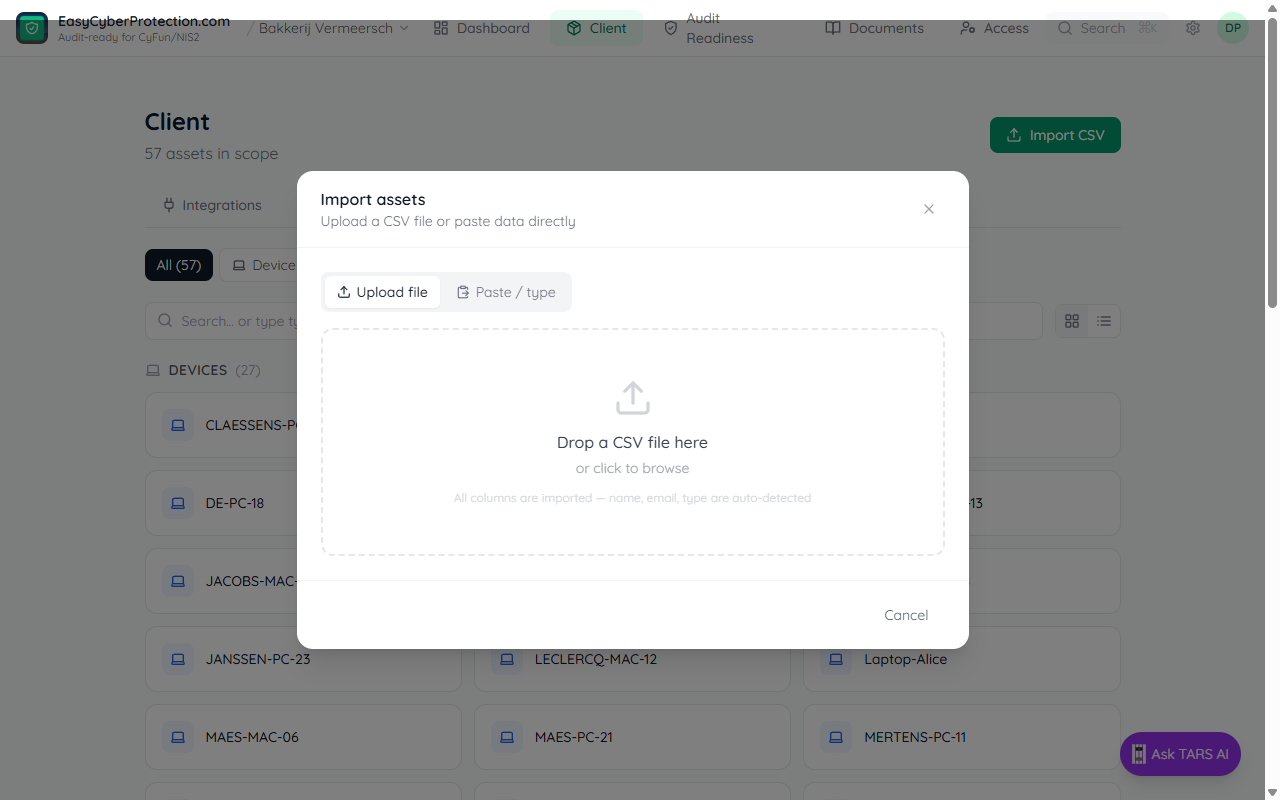
Step 3 — Drop your file or paste data
You can either:
- Upload file tab: drag and drop your .csv file onto the drop zone, or click to browse
- Paste / type tab: paste CSV text directly (useful if copying from a spreadsheet)
Step 4 — Review the preview
The importer shows the first 5 rows and highlights auto-detected key columns:
- Green ★ — Name column (used as the asset title)
- Blue — Email or Type columns (used for control auto-resolution)
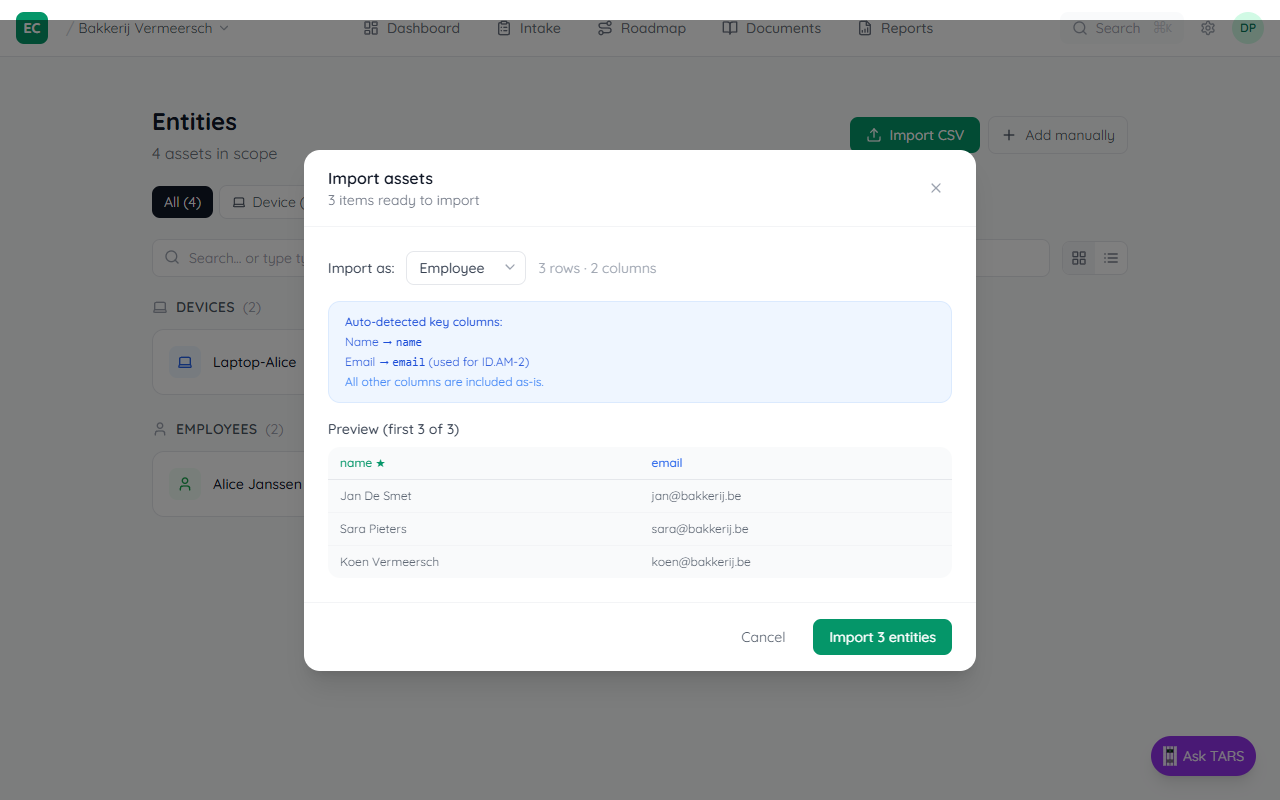
Use the Import as dropdown to change the entity type if needed. Then click Import N entities.
Step 5 — Wait for the import to complete
A progress bar shows how many entities have been created. Large imports are processed in batches — you'll see the counter increment in real time.
The dialog closes automatically when all items are imported. If any rows were skipped (e.g., missing name), the dialog stays open to show the error details.
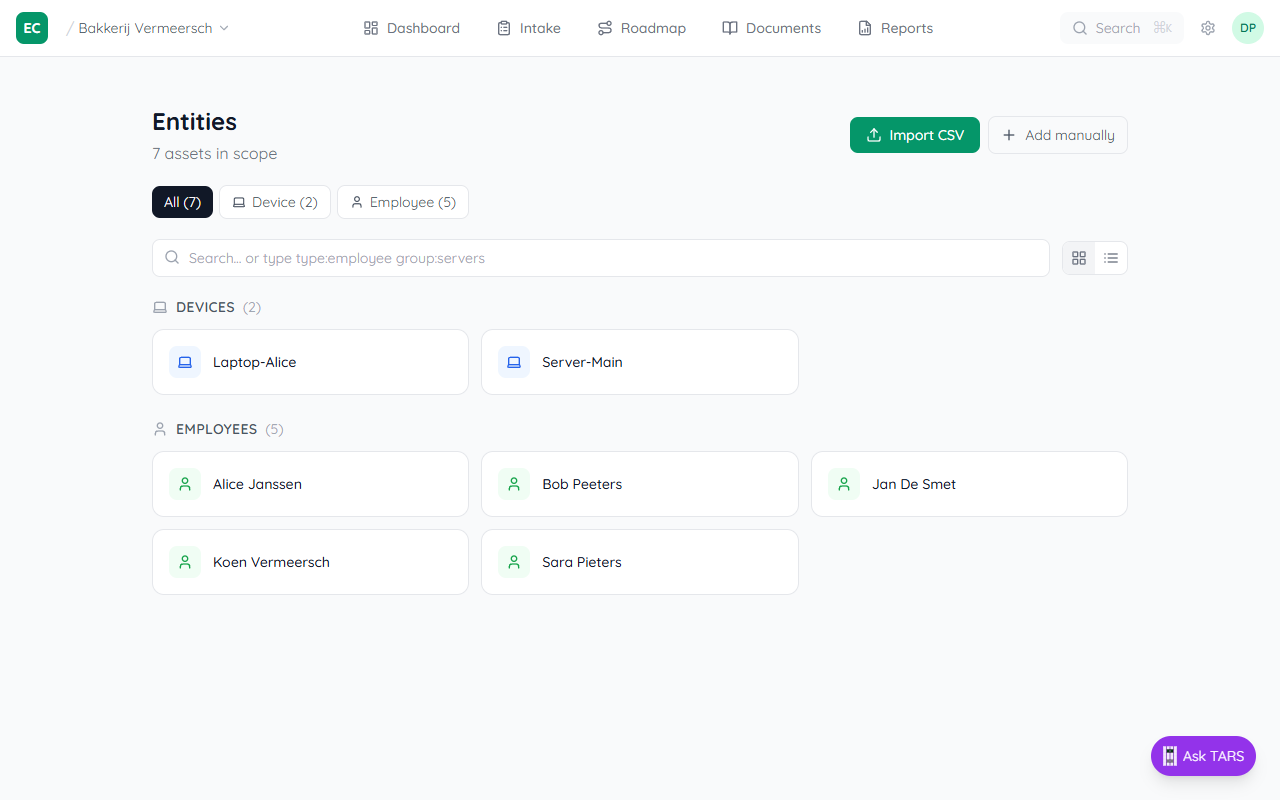
What happens after import
- ✓ Each row becomes a wiki page under
entities/{type}/{name} - ✓ Control ID.AM-1 (device inventory) may auto-resolve if enough devices are registered
- ✓ Control ID.AM-2 (employee inventory) may auto-resolve if employees with email are imported
- ✓ You can re-import anytime — existing entries are updated, not duplicated
Troubleshooting
Wrong entity type detected
Use the Import as dropdown in the preview step to manually select the correct type.
Some rows were skipped
Rows without a detectable name column are skipped. Add a name column or ensure the first column has values for every row.
Import seems stuck
Large files (500+ rows) can take a minute. The progress bar increments in batches of 20. If nothing happens after 2 minutes, refresh and try importing a smaller file first.